Using SSH fleets with TensorWave's private AMD cloud
Since last month, when we introduced support for private clouds and data centers, it has become easier to use dstack
to orchestrate AI containers with any AI cloud vendor, whether they provide on-demand compute or reserved clusters.
In this tutorial, we’ll walk you through how dstack can be used with
TensorWave using
SSH fleets.
TensorWave is a cloud provider specializing in large-scale AMD GPU clusters for both training and inference.
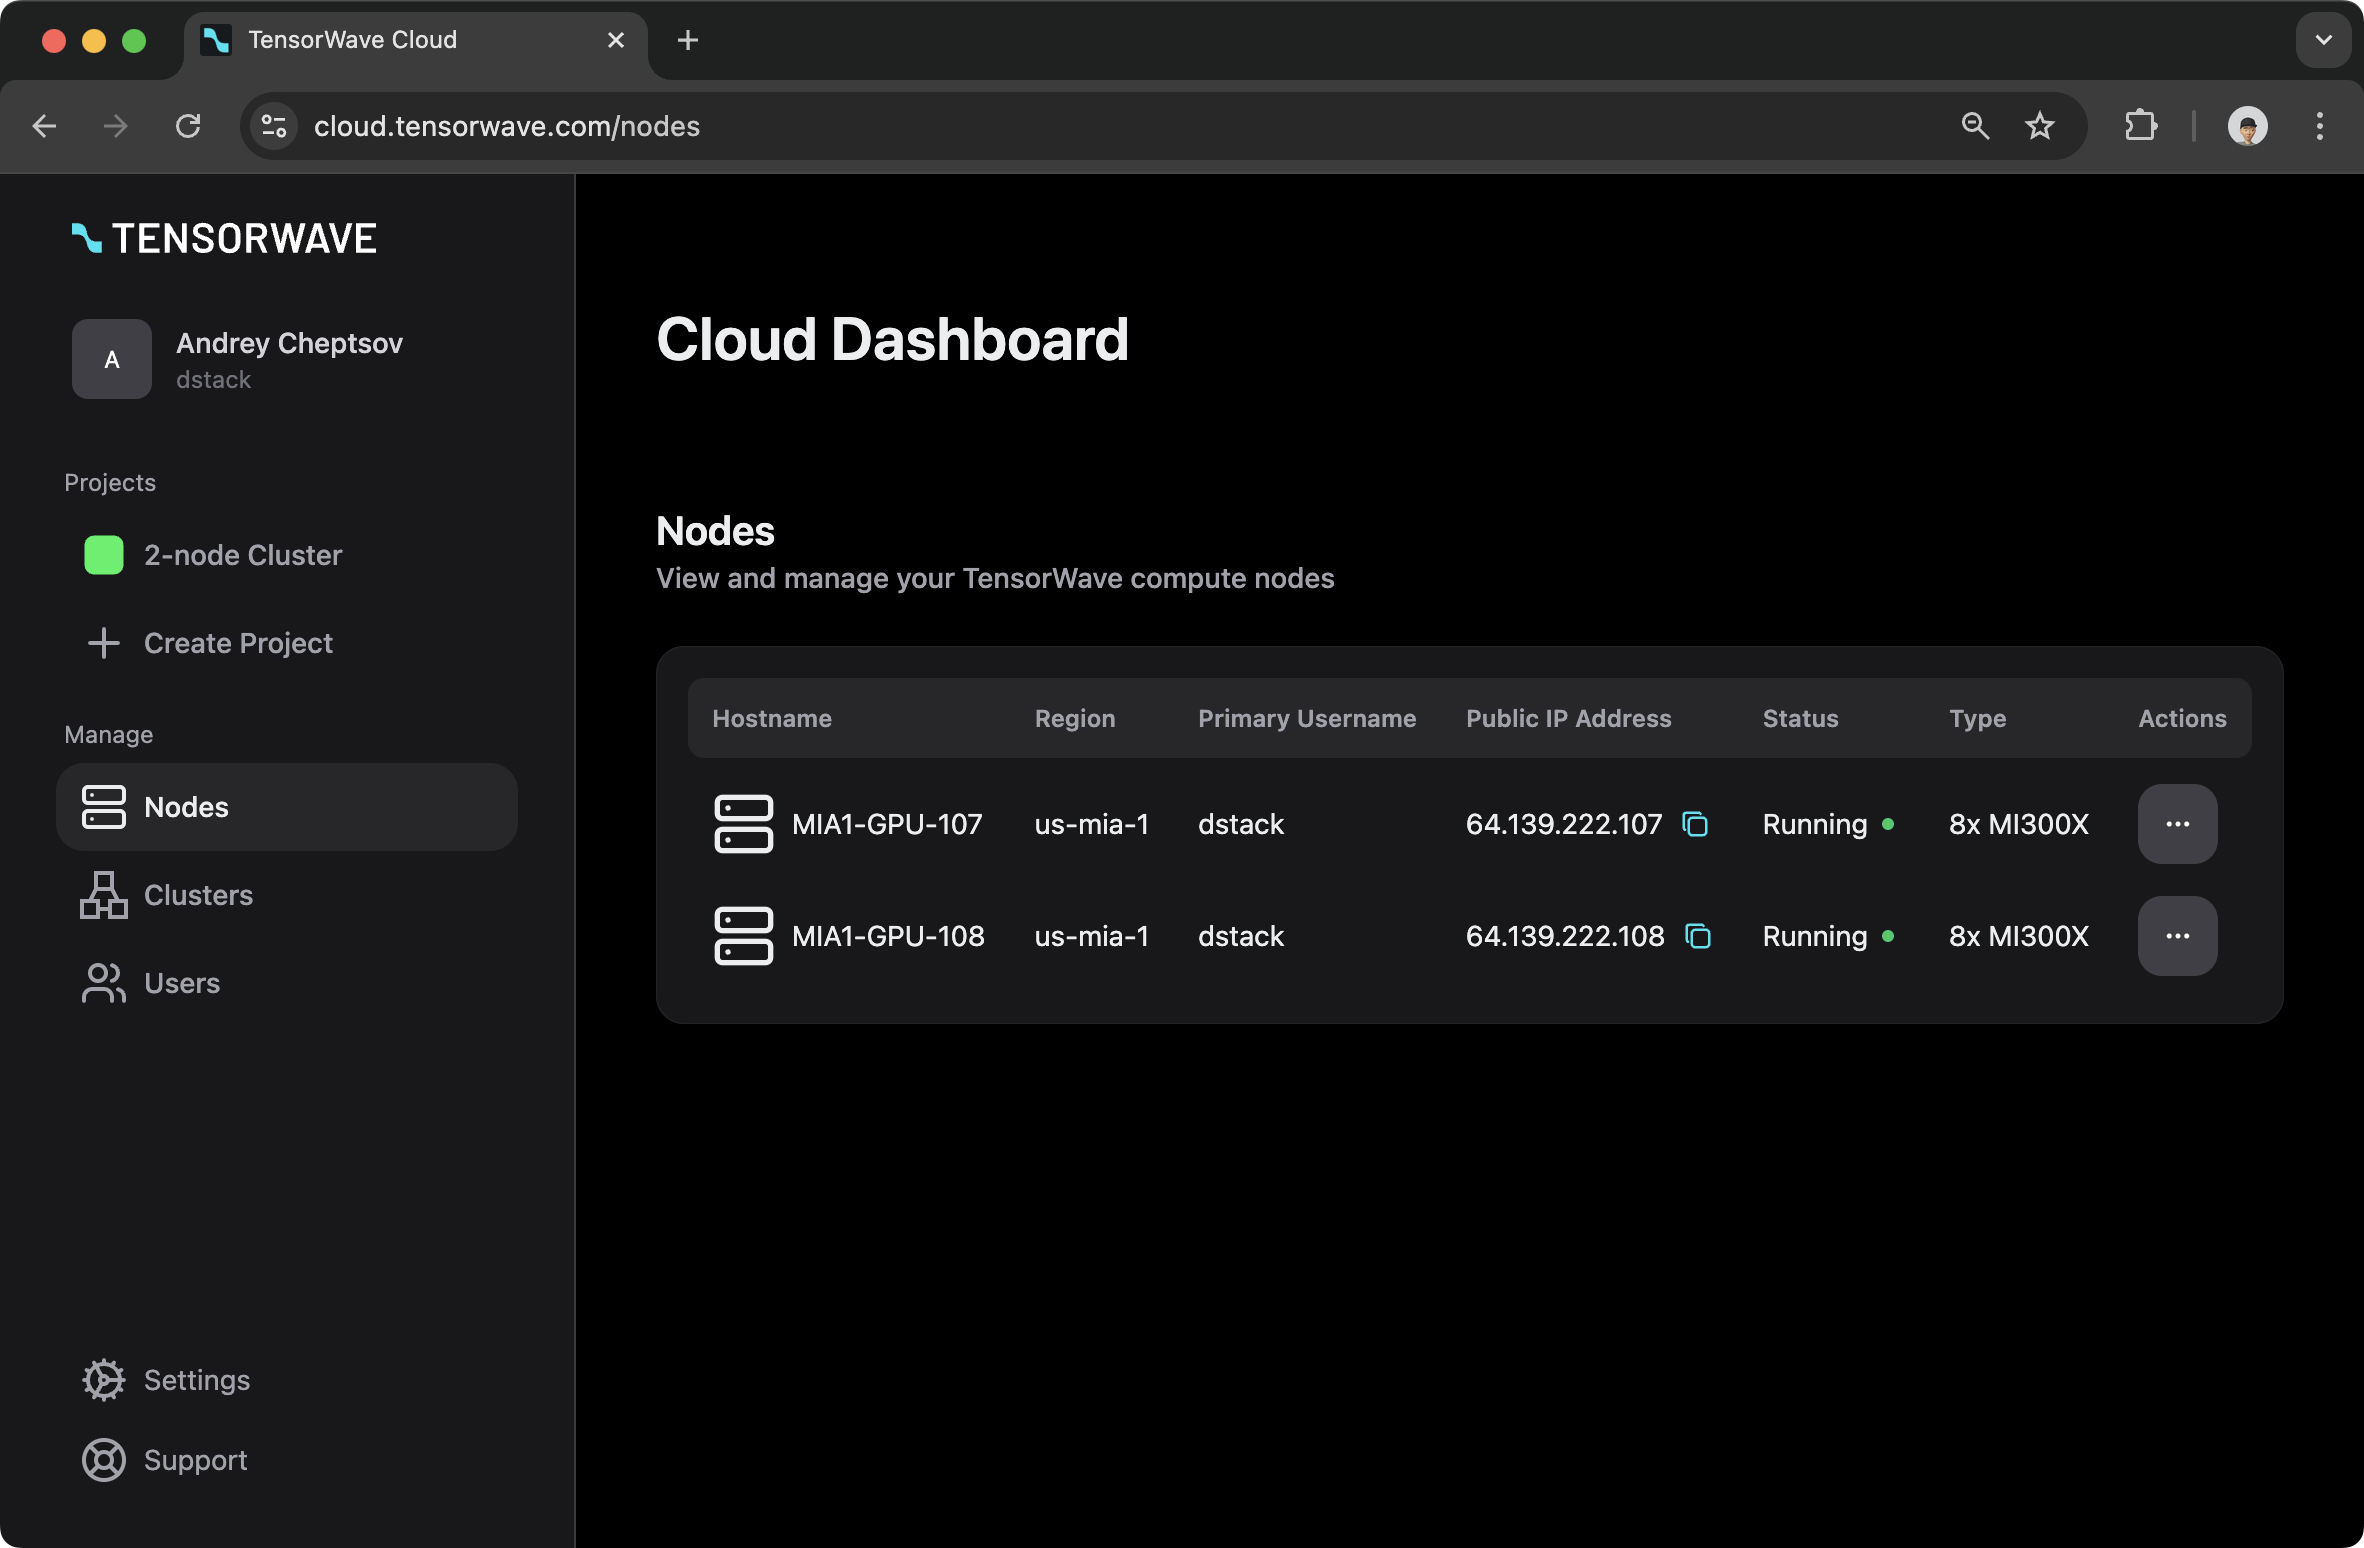
Before following this tutorial, ensure you have access to a cluster. You’ll see the cluster and its nodes in your TensorWave dashboard.
Creating a fleet
Prerequisites
Once dstack is installed, create a project folder.
$ mkdir tensorwave-demo && cd tensorwave-demo
Now, define an SSH fleet configuration by listing the IP addresses of each node in the cluster, along with the SSH user and SSH key configured for each host.
type: fleet
name: my-tensorwave-fleet

placement: cluster

ssh_config:
  user: dstack
  identity_file: ~/.ssh/id_rsa
  hosts:
    - hostname: 64.139.222.107
      blocks: auto
    - hostname: 64.139.222.108
      blocks: auto
You can set blocks to auto if you want to run concurrent workloads on each instance.
Otherwise, you can omit this property.
Once the configuration is ready, apply it using dstack apply:
$ dstack apply -f fleet.dstack.yml

Provisioning...
---> 100%

 FLEET                INSTANCE  RESOURCES         STATUS     CREATED
 my-tensorwave-fleet  0         8xMI300X (192GB)  0/8 busy   3 mins ago
                      1         8xMI300X (192GB)  0/8 busy   3 mins ago
dstack will automatically connect to each host, detect the hardware, install dependencies, and make them ready for
workloads.
Running workloads
Once the fleet is created, you can use dstack to run workloads.
Dev environments
A dev environment lets you access an instance through your desktop IDE.
type: dev-environment
name: vscode

image: rocm/pytorch:rocm6.3.3_ubuntu22.04_py3.10_pytorch_release_2.4.0
ide: vscode

resources:
  gpu: MI300X:8
Apply the configuration via dstack apply:
$ dstack apply -f .dstack.yml

Submit the run `vscode`? [y/n]: y

Launching `vscode`...
---> 100%

To open in VS Code Desktop, use this link:
  vscode://vscode-remote/ssh-remote+vscode/workflow
Open the link to access the dev environment using your desktop IDE.
Tasks
A task allows you to schedule a job or run a web app. Tasks can be distributed and support port forwarding.
Below is a distributed training task configuration:
type: task
name: train-distrib

nodes: 2

image: rocm/pytorch:rocm6.3.3_ubuntu22.04_py3.10_pytorch_release_2.4.0
commands:
  - pip install torch
  - export NCCL_IB_GID_INDEX=3
  - export NCCL_NET_GDR_LEVEL=0
  - torchrun --nproc_per_node=8 --nnodes=2 --node_rank=$DSTACK_NODE_RANK --master_port=29600 --master_addr=$DSTACK_MASTER_NODE_IP test/tensorwave/multinode.py 5000 50

resources:
  gpu: MI300X:8
Run the configuration via dstack apply:
$ dstack apply -f train.dstack.yml

Submit the run `streamlit`? [y/n]: y

Provisioning `train-distrib`...
---> 100%
dstack automatically runs the container on each node while passing
system environment variables
which you can use with torchrun, accelerate, or other distributed frameworks.
Services
A service allows you to deploy a model or any web app as a scalable and secure endpoint.
Create the following configuration file inside the repo:
type: service
name: deepseek-r1-sglang

image: rocm/sglang-staging:20250212
env:
  - MODEL_ID=deepseek-ai/DeepSeek-R1
  - HSA_NO_SCRATCH_RECLAIM=1
commands:
  - python3 -m sglang.launch_server --model-path $MODEL_ID --port 8000 --tp 8 --trust-remote-code
port: 8000
model: deepseek-ai/DeepSeek-R1

resources:
  gpu: mi300x:8

volumes:
  - /root/.cache/huggingface:/root/.cache/huggingface
Run the configuration via dstack apply:
$ dstack apply -f deepseek.dstack.yml

Submit the run `deepseek-r1-sglang`? [y/n]: y

Provisioning `deepseek-r1-sglang`...
---> 100%

Service is published at:
  http://localhost:3000/proxy/services/main/deepseek-r1-sglang/
Model deepseek-ai/DeepSeek-R1 is published at:
  http://localhost:3000/proxy/models/main/
See it in action
Want to see how it works? Check out the video below:
What's next?
- See SSH fleets
- Read about dev environments, tasks, and services
- Join Discord